
A Git Crash Course
This is my first ever blog! I thought it would be fitting to have a simple Git walkthrough as a tribute to fresh starts 🎉.
Taken from Project Smart Bike Lights’s GitHub repository
This project is opinioned on using command line for our operations. Instructions will be in the command line.
Instructions are adapted from this excellent tutorial.
1. Clone this repository
$ git clone https://github.com/fixthelights/smart-bike-lights.gitCopy everything after the
$symbol.$is a prompt symbol to denote the terminal input. If you see a#symbol, that denotes the superuser’s prompt (admin prompt) More information here.
Change directory cd into the repository.
$ cd smart-bike-lights2. Making changes to files
For example, lets create a hello-world.py file
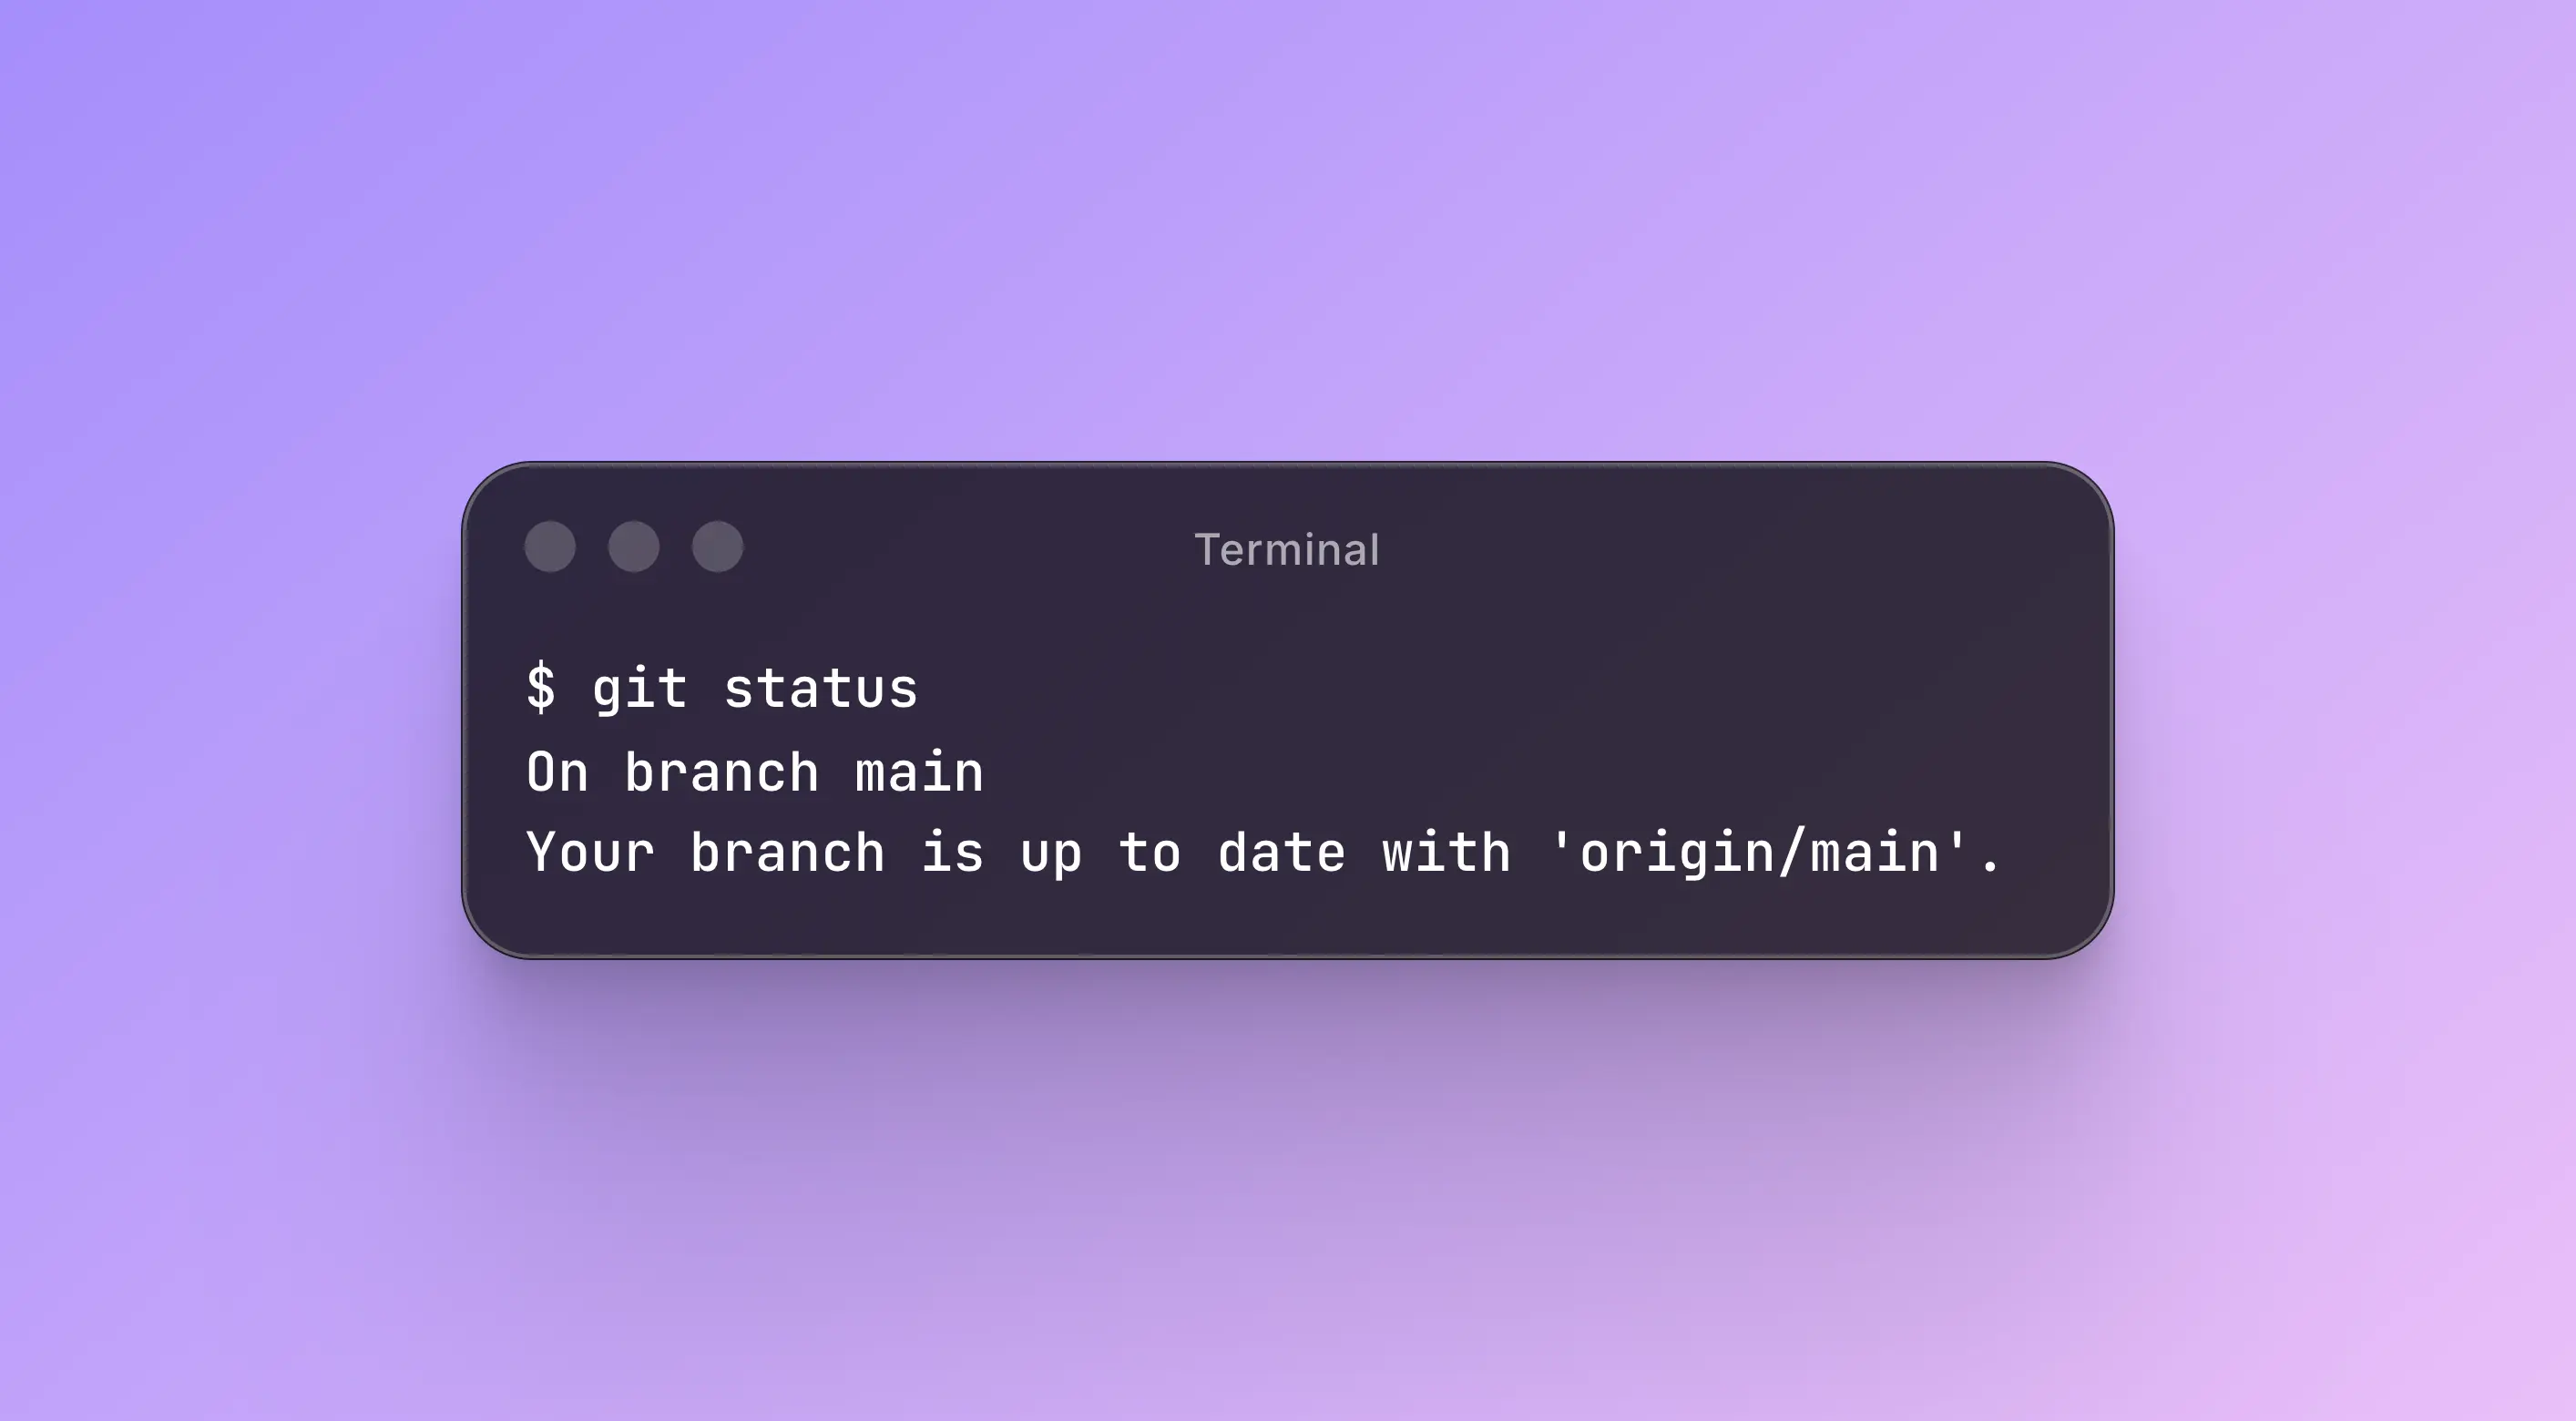
$ touch hello-world.pyCheck git status to see the changes
$ git statusOn branch main
Untracked files:
(use "git add <file>..." to include in what will be committed)
hello-world.py
nothing added to commit but untracked files present (use "git add" to track)3. Adding changes to staging
Staging is a concept in git that represents an intermediate area where changes are added in preparation for a commit
$ git add .Don’t forget the dot
.which denotescurrent directory
Run git status to ensure they’re staged
$ git statusOn branch main
Changes to be committed:
(use "git restore --staged <file>..." to unstage)
new file: hello-world.py4. Finally commit the changes
$ git commit -m 'Added hello-world.py'the
-mflag adds acommit messagewhich will show up on github. It should be short and clear, a summary of the commit
Output:
[main 153f6eb] Added hello-world.py
 1 file changed, 1 insertion(+)
 create mode 100644 hello-world.py
5. Push to the cloud (Github)
$ git pushThis step uploads your commit to Github. Don’t forget this step!
Without uploading, your commit stays on your device only, and others won’t be able to see your work.
Git Tutorial
https://github.com/fixthelights/smart-bike-lightsguang
05/Nov/2025
Unlicensed